Sage 300 - How to edit 1099 Vendor Codes

How to edit 1099 Vendor Codes or amounts

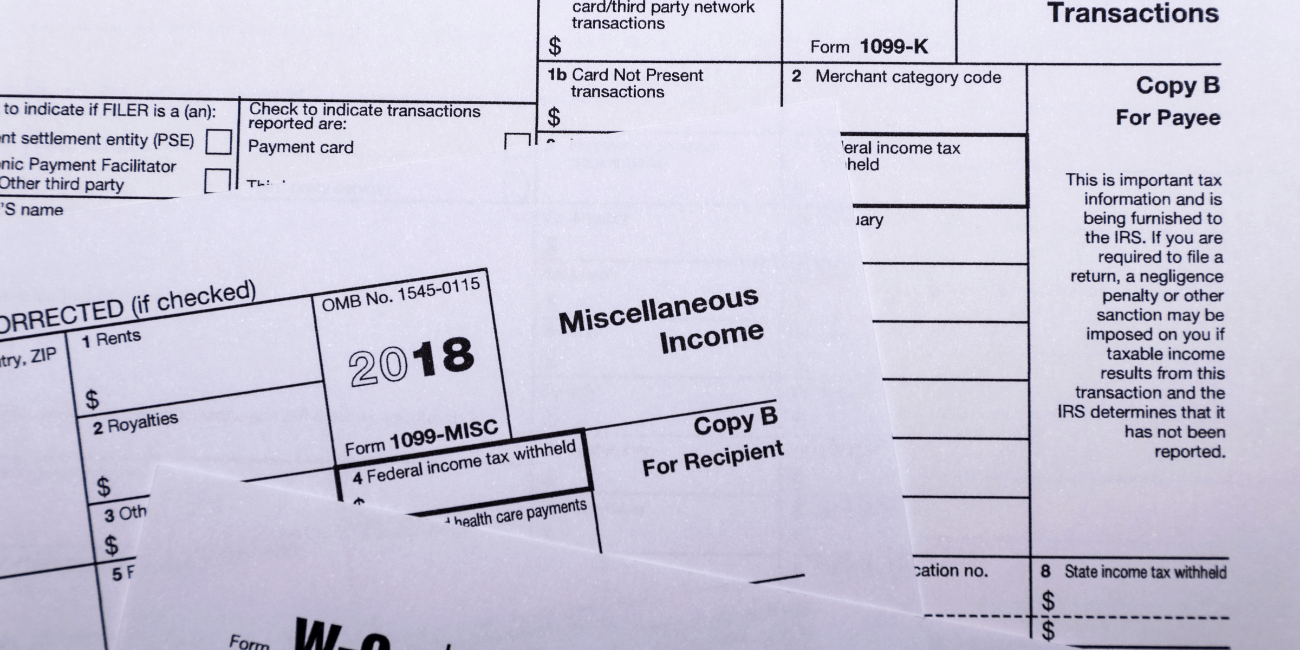
At some point during year end processing, you may discover that the 1099 codes or amounts you’ve recorded for a vendor need to be edited or adjusted.

Note: Setting the Zero Amount Checking option to Warning in the vendor record will help remind the user doing invoice entry to populate the field.  Additionally, you may configure Sage 300 to default the 1099 amount from the invoice amount from within the A/P Setup user interface.

Each 1099 code type has different payment amount thresholds that must be reached which may result in a payee being left out of the 1099 form printing. Some examples of such thresholds are:

  • Royalties - $10
  • Rents - $600
  • Nonemployee Compensation - $600

To Change a 1099 Code:

  1. Go to A/P Vendors and select Vendors
  2. Select the vendor with the issue
  3. Click on the Invoicing tab
  4. Choose the correct 1099 code
  5. Click on Save and then Close

To Allow Editing of 1099 Amounts:

  1. Go to A/P Set Up and select Options
  2. Select Transactions Tab
  3. Check of Allow Edit of 1099/CPRS Amounts
  4. Click Save and then Close

To Update a Vendor’s 1099 Amount:

  1. Go to A/P Vendors and choose A/P 1099/CPRS Inquiry
  2. Filter to Vendor(s)
  3. Filter to the incorrect 1099 Code
  4. Click on the double arrows (Go option)
  5. Note the information for all entries listed
  6. Filter to the correct 1099 Code
  7. Click on the double arrows (Go option)
  8. Press the Insert key to add a new line
  9. Enter the appropriate information for the detail line
  10. Repeat the previous 2 steps for each detail line
  11. Filter to the incorrect 1099 Code
  12. Click on the double arrows (Go option)
  13. Press the Delete key to remove the incorrect detail lines individually

We are here to help! So be sure to contact us if you need help with this or any other issue with your Sage 300 software.

Related Articles

Need Help Now?

Request a Call