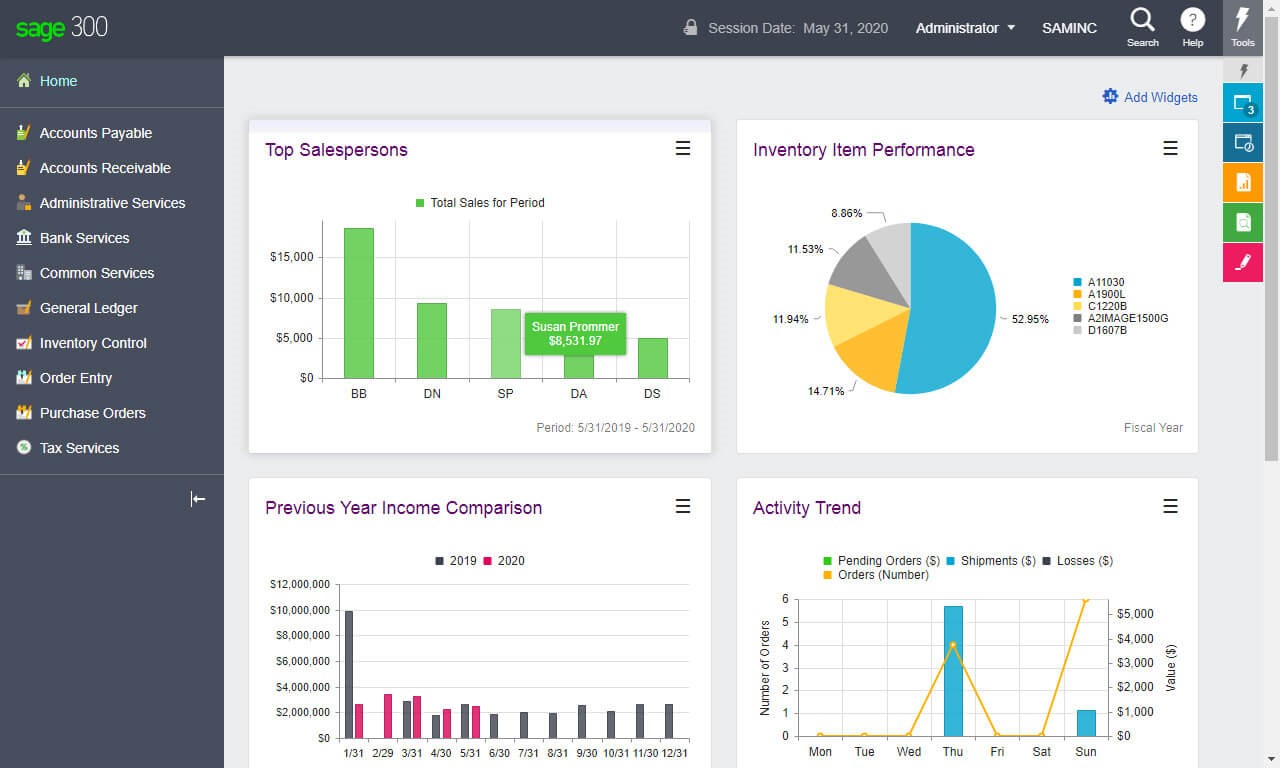
One of the new features introduced in the Sage 300 2020.2 release earlier this year was the ability to assign a unique color to your Web Screens for each company in your Sage 300 database. Here’s how it works.
If you use Sage 300 to manage multiple companies, you can assign a unique color to each company to make it easier to see which company's information you are viewing and avoid data entry errors. Previously, assigning multiple company colors was available only in the Sage 300 classic screens. Now, customers working with the newer web screens can also benefit from this popular feature.
You can assign colors to all companies, or to as few or as many companies as you like using the following screens:
Database Setup - assign or clear colors for all companies.
Edit Database Profile screen - Change the color assigned to a specific company, or turn off the company color option for that company.

To Assign Company Colors:
1. Click Start > All Programs > Sage 300 > Database Setup.
2. On the Database Setup screen, select the Assign Colors Automatically option.
Sage 300 then assigns colors to all companies for which a database has been set up.
To Select a Different Color for a Company:
1. On the Database Setup screen, select a company, and then click Edit.
2. On the Edit Database Profile screen, click Select Color.
3. Select a color, and then click OK.
4. Click OK to close the Edit Database Profile screen
In the Color column, a color swatch indicates the new color assigned to the company.
To Turn Off a Company Color:
1. On the Database Setup screen, select a company, and then click Edit.
2. On the Edit Database Profile screen, select the No Color option.
3. Click OK to close the Edit Database Profile screen.
Contact us if you have questions or need help.
Managing accounts receivables (AR) can feel like an endless game of cat and mouse. Small companies...
Equation Technologies
United States: 533 2nd Street Encinitas, CA 92024
Canada: #301 - 220 Brew Street Port Moody, BC V3H 0H6
Phone: 866.436.3530 • E-mail: info@equationtech.us
Equation Technologies ©2016