- Back Up Your Data - before you begin any year end process, be sure to execute a complete back up of your database. You should also test the back up to ensure it was successful and the data is readable. The only way to “reverse” year end processing is to restore your data from a backup. So do it now!
- Check Your Version Number - closing procedures can vary depending on the version of Sage 300 (or “Accpac”) you’re currently running. Check your version number and service pack before starting year end.
- Create a New Fiscal Calendar - Sage 300 allows you to begin entering transactions for the new year without closing out the current year. Simply create a new fiscal calendar in Common Services > Fiscal Calendar and then click the New icon. If the period date ranges are correct, then Save the year. Do this before entering transactions for 2017.
- General Ledger Closing - While it’s a good idea to close modules in a timely fashion, your General Ledger can remain open as long as you need while awaiting final processing (or audit adjustments) in other modules.
- Check Data Retention Settings - Sage 300 will retain historical data based on your software version and the settings you’ve configured in each module. So it’s a good idea to review all module and system settings to avoid the unintended loss/purge of important data during year end close. In particular, check GL Options to see how many years of history your system is set up to retain.
- Remember, We’re Here to Help - As you begin year end closing procedures and prepare to start fresh in 2017, be sure to contact us if you need assistance during this important time of year. As your software and technology partner, we’re here to help!
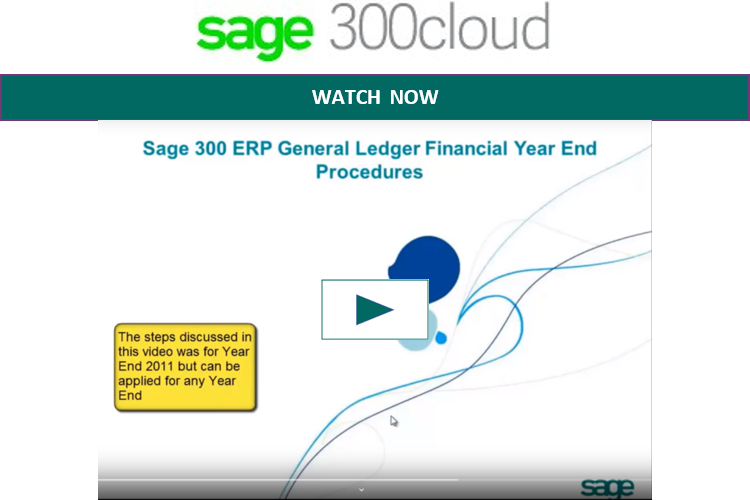
Watch our Sage 300 General Ledger Financial Year End Procedures demonstration below. Get ready for the new fiscal year!

How to create database backups in Sage 300

One of the most important things you can do before starting the year end closing process is to backup your data. Here’s how to do it in Sage 300:
- Click the Start button, highlight Programs, then Sage 300, Tools, and click Database Dump.
- Type the password for the Admin user in Sage 300, then click the OK button.
- Click to highlight the database that you want to Dump. Click the Set Directory button to enter the location where you want to save the files.
- Click OK. You'll return to the Dump Sage 300 ERP Data screen.
- Click the Dump button to proceed. A confirmation message will appear. Click OK to continue.
- A Dataset Description screen will display in which an optional description of the database may be entered.. Enter a description, then click Done.
Other Helpful Year End Resources
Here’s a collection of tips and video tutorials that we think will help you with a smooth year end closing process and to get you ready for a fresh start in 2017.
General Ledger Year End Procedures
This collection of video clips demonstrates various year end closing procedures in the General Ledger.
Create a New Fiscal Calendar
Lock and Unlock Fiscal Periods
Post all Current Transactions in GL
Backup Data Separate Folder/Location
Print Trial Balance & Financial Reports
Create a New Year
Print Posting Journals
Sage 300 Year End Center
Sage has created a Year End Center that provides valuable resources that can help guide you through a smooth year end closing process in Sage 300 including:
- Year End Articles and Checklists
- Video Tutorials
- “Hot Topics”
- Online Q&A and Discussion Forum
- Live Chat With Tech Support
- Tax Forms, Payroll, and Report Guidance
Take advantage of this free and valuable resource!
Visit the Year End Center
Download & Review Year End Checklists
Checklists are great for helping you keep things on track and to ensure processes are executed in the right sequence. That’s why Sage provides helpful year end checklists that are built right into Sage 300. To access the checklists:
- Logon to your Sage 300 system
- From the menu bar, click Help and then Documentation
- Browse the ENG folder
- Find the PDF called Sage300ERP_Checklist_YearEnd.pdf
Sage 300 Payroll FAQs and Videos
For companies running the payroll module, here are answers to a couple of frequently-asked questions along with helpful instructional videos to help prepare for year end.
When do I close the year?
You never close the year. Continue processing payrolls as you do all year long, entering period-end dates in the new year as you cross the calendar year boundary. After you have completed all of the previous year’s year-end processing and made backup copies of the data, you can run Delete Inactive Records to remove terminated employees and other obsolete information from your data.
Can I produce W-2s (U.S.) or T4s (Canada) after processing payrolls for Jan 1?
Yes. The program allows you to start processing payrolls for Jan 1 and later produce W-2s/T4s for the previous year without any additional procedures. When you produce W-2s/T4s, select previous year as the Payment Year.
Helpful Videos:
How to Download and Install Payroll Tax Updates
How to Print W-2 Forms (U.S.)
How to Print T4 Forms (Canada)
How To Change GL Accounts That Were Incorrectly Set Up
During year end processing, some companies discover that certain GL accounts were incorrectly set up using the wrong Account Type.
For instance if Income Statement accounts were set up as Balance Sheet accounts, these accounts would not close to Retained Earnings after running Create New Year. In other words, the accounts would still have a beginning balance in the new year.
If you find yourself in that situation, here’s how to resolve it.
- Ensure the option Allow Posting to Previous Years is selected.
- Create a new GL account with the correct Account Type (Income Statement).
- Create a GL entry to transfer the balance from the old account (Balance Sheet) and into the new Income Statement account.
- Select period 12 and the fiscal year in which the entry is intended to be posted.
- Mark the old Balance Sheet account as Inactive so no additional entries can be posted to this incorrect account.
- Repeat steps 2 through 5 for each account that was set up incorrectly as a Balance Sheet account.
NOTE: Do not run the Create New Year function again. The system will recognize the entry is posted to a prior year and will update the Retained Earnings account.
Be sure to Contact Us if you need help with this or any other issue with your Sage 300 software.
Locking Fiscal Periods In Sage 300
Starting with Sage 300 Version 6.0, you have the ability to lock or unlock fiscal periods individually for each module (in versions prior to 6.0, you can only lock or unlock all modules at once).
This capability in Sage 300 makes it easier to lock down modules in the proper sequence and prevent unexpected errors during year end processing.
Preparing to Lock Fiscal Periods
It's important to understand how transactions flow through Sage 300 before you begin locking fiscal periods for individual modules.
The Preparing to Lock Fiscal Periods video on YouTube provides important information that you should review prior to locking fiscal periods.
Locking Fiscal Periods
After you review the set up and workflow information, you’re ready to use the fiscal calendar to begin locking and unlocking fiscal periods. Here are some general best practices to keep in mind:
- Lock operations modules (OE, Inventory, etc.) before financial modules (GL, AP, AR, etc.).
- When locking Bank Services, also lock modules that integrate directly with it including AR, AP, & Payroll.
- Create and post all outstanding GL batches for a fiscal period before you lock it for GL.
Watch the Locking Fiscal Periods video on YouTube for step-by-step instructions.
Monthly Webinar: Year End Processing with Sage 300
Session was be held on:
Wednesday, December 14, 2016 at 11:00am PST / 2:00pm EST.
Watch Recorded Webinar